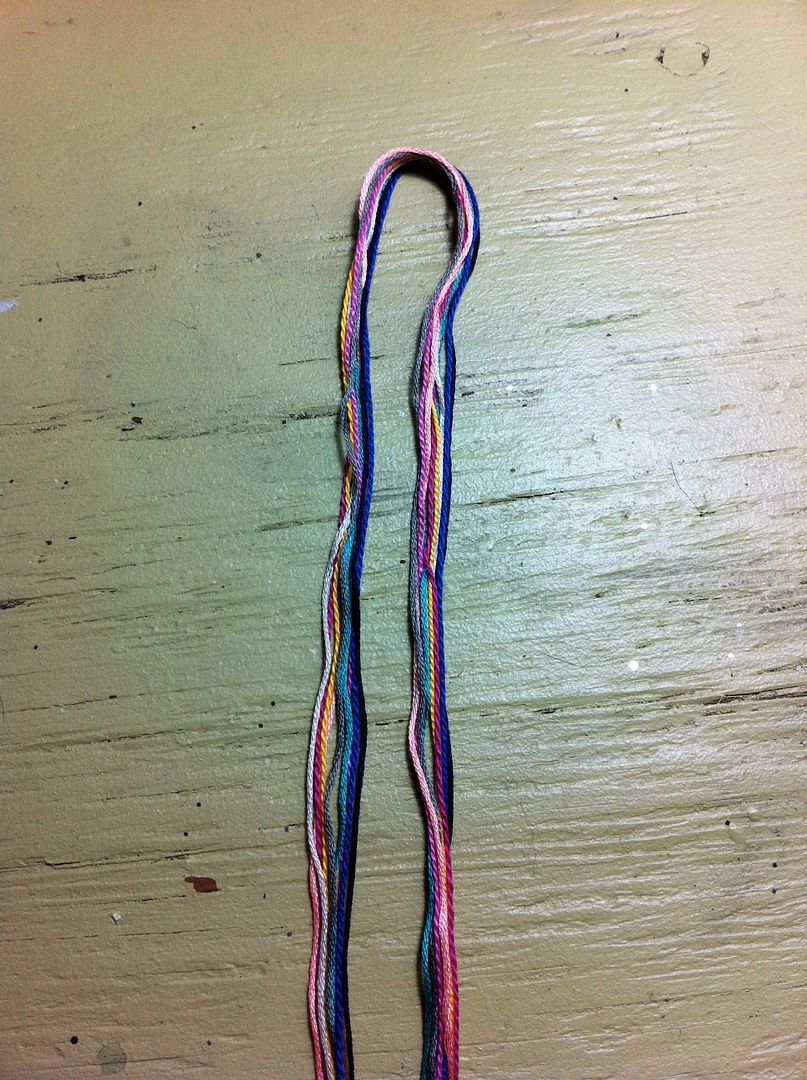
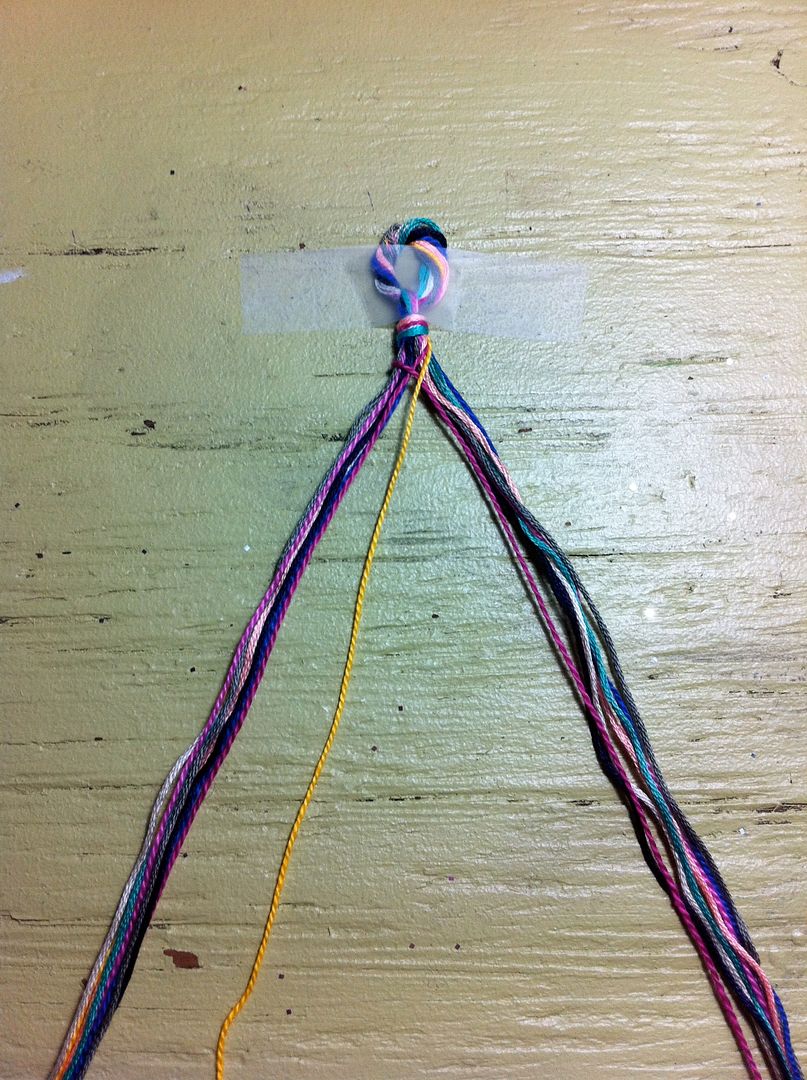
I used 9 strands of thread in 9 different colors. You could do this with only 2 different colors or whatever color variety you want. My strands were about 3 feet long each. Gather them together and fold them in half.
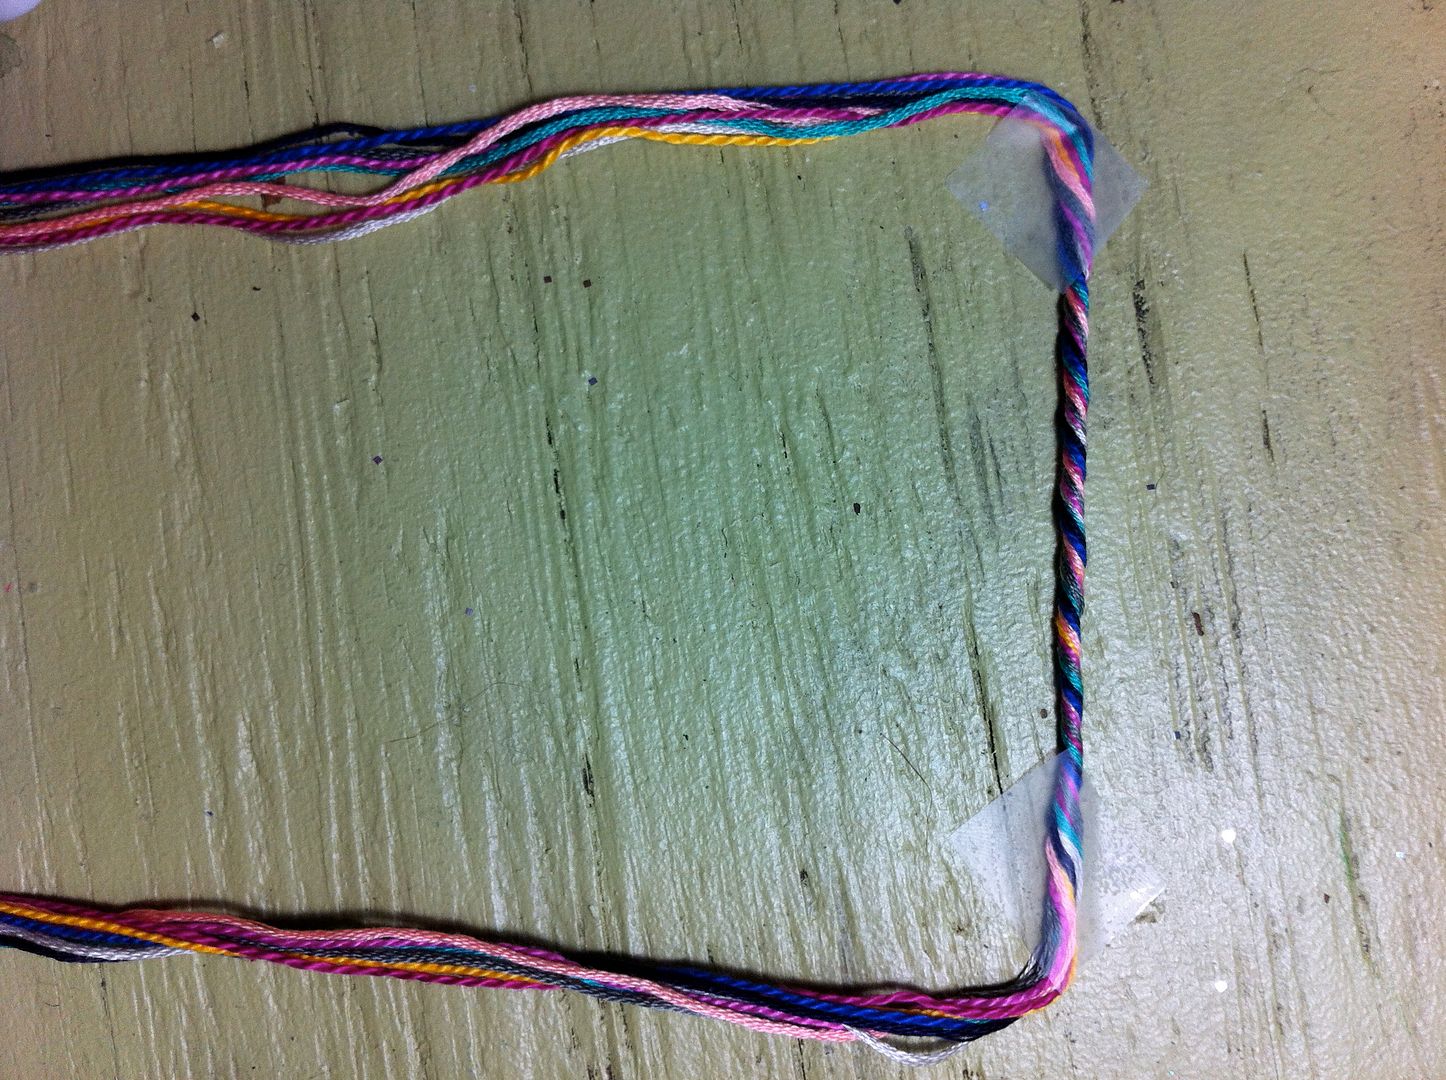
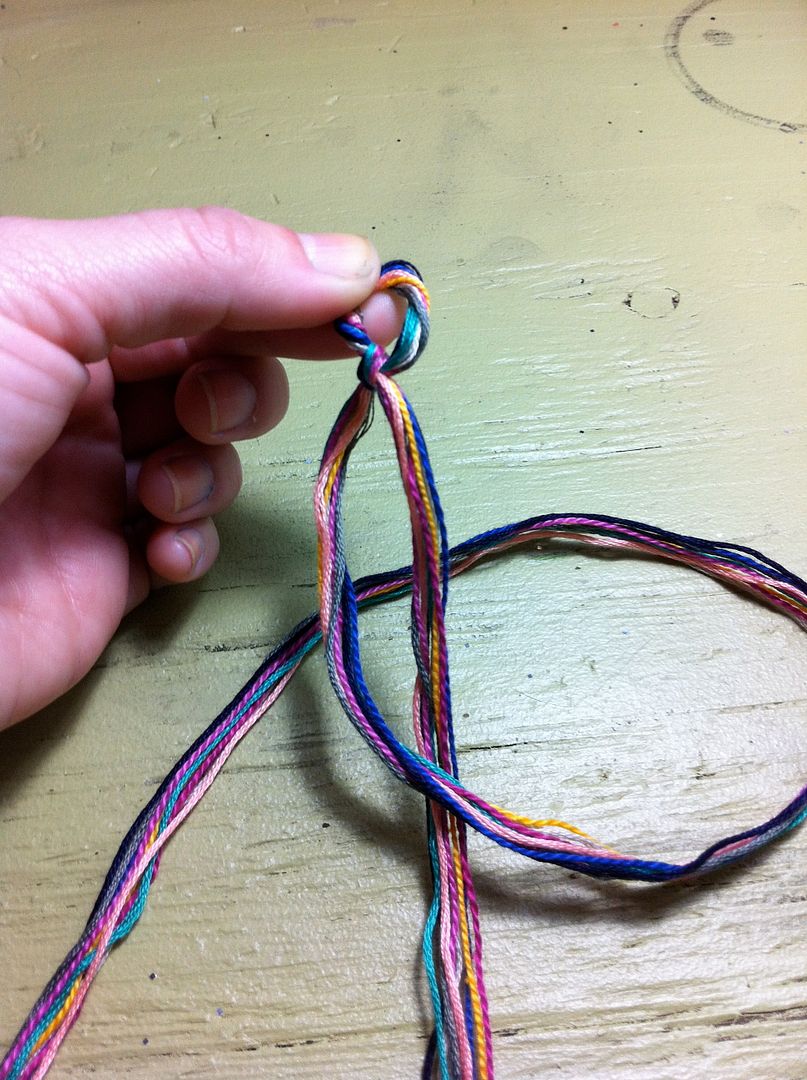
I twisted this top part so it doesn't get all tangled later. I'm only using tape for the picture.
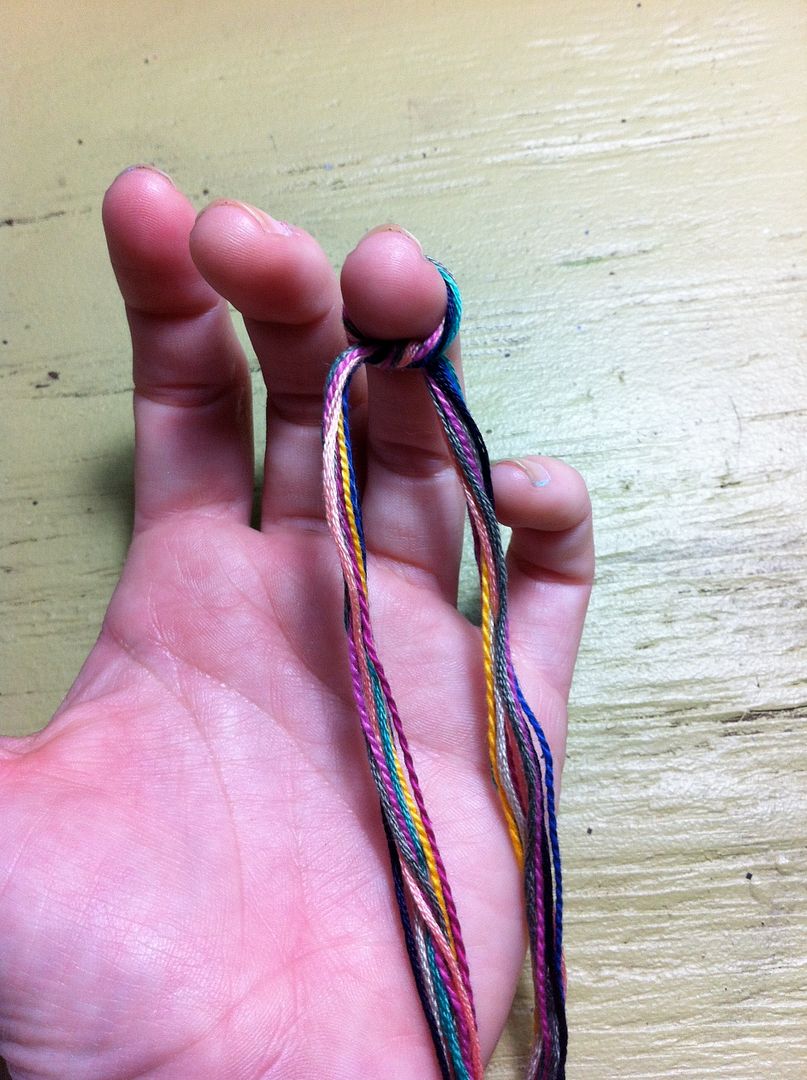
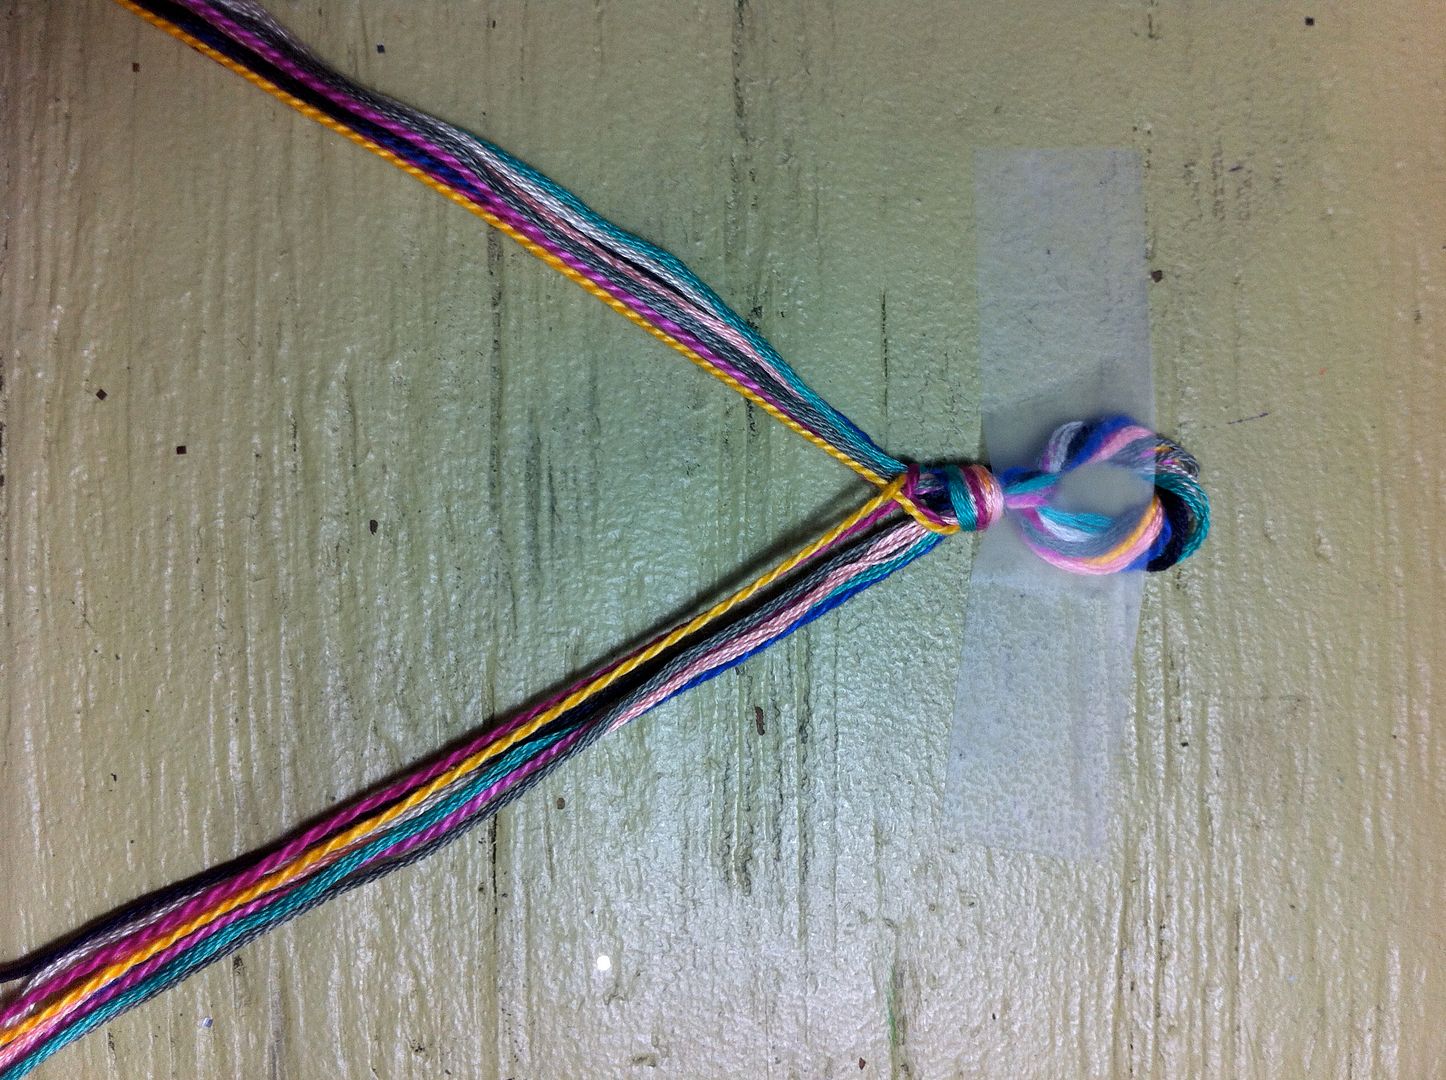
Where you twisted the top part, tie it around your finger.

Then tie a knot.
I'm now taking one of the strands and tying it around the other, almost like a tie. Wrap the left strand over the right strand and wrap it behind the right strand.
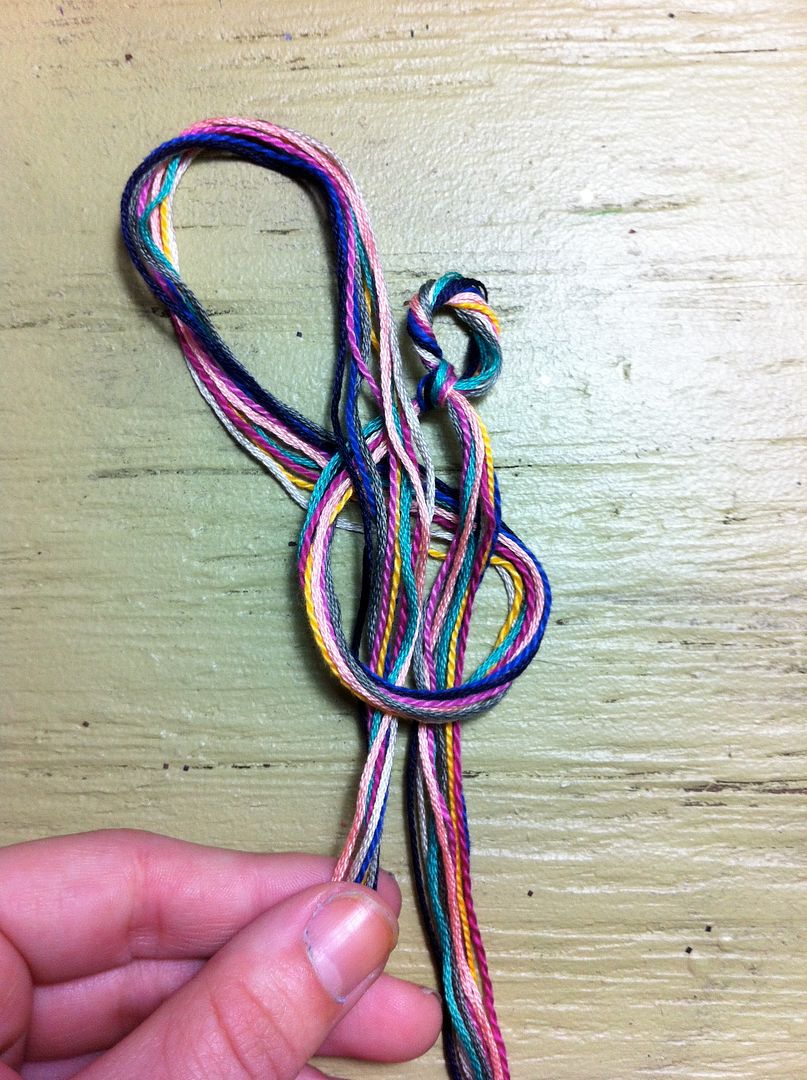
Then pull the end through the loop you've created and pull into a knot.
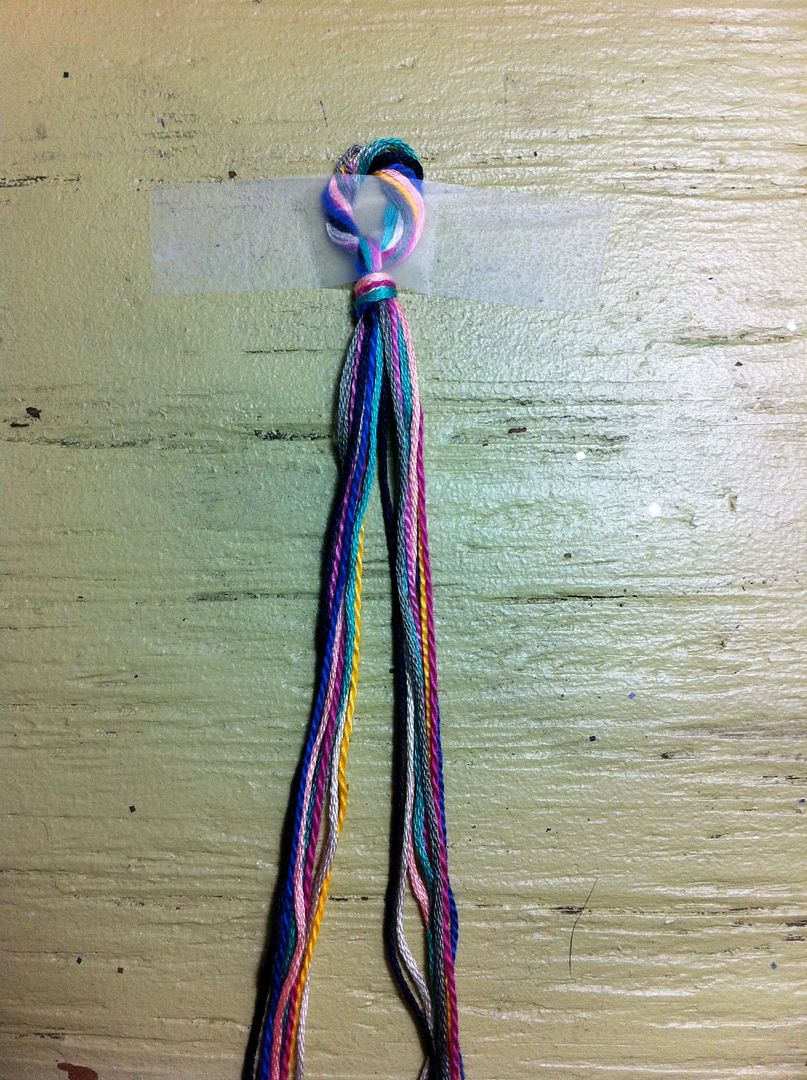
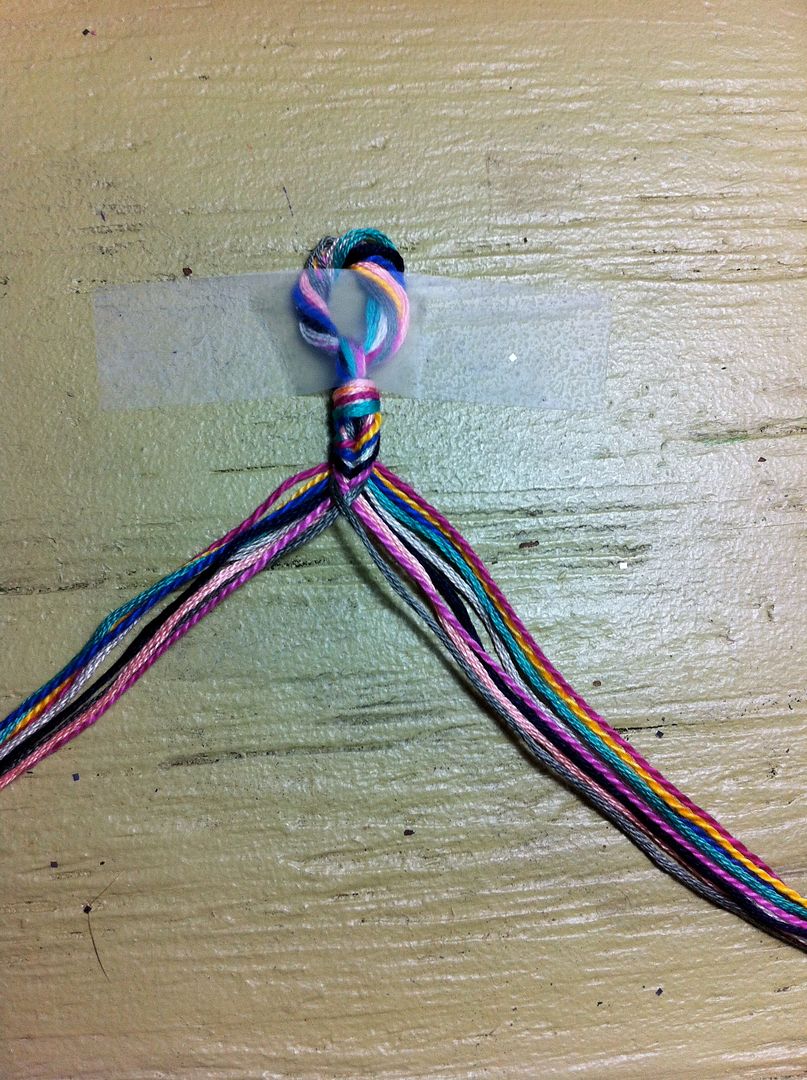
Tape the top down to keep the bracelet stable.
Star by grabbing one color from the right side and pulling it to the middle.
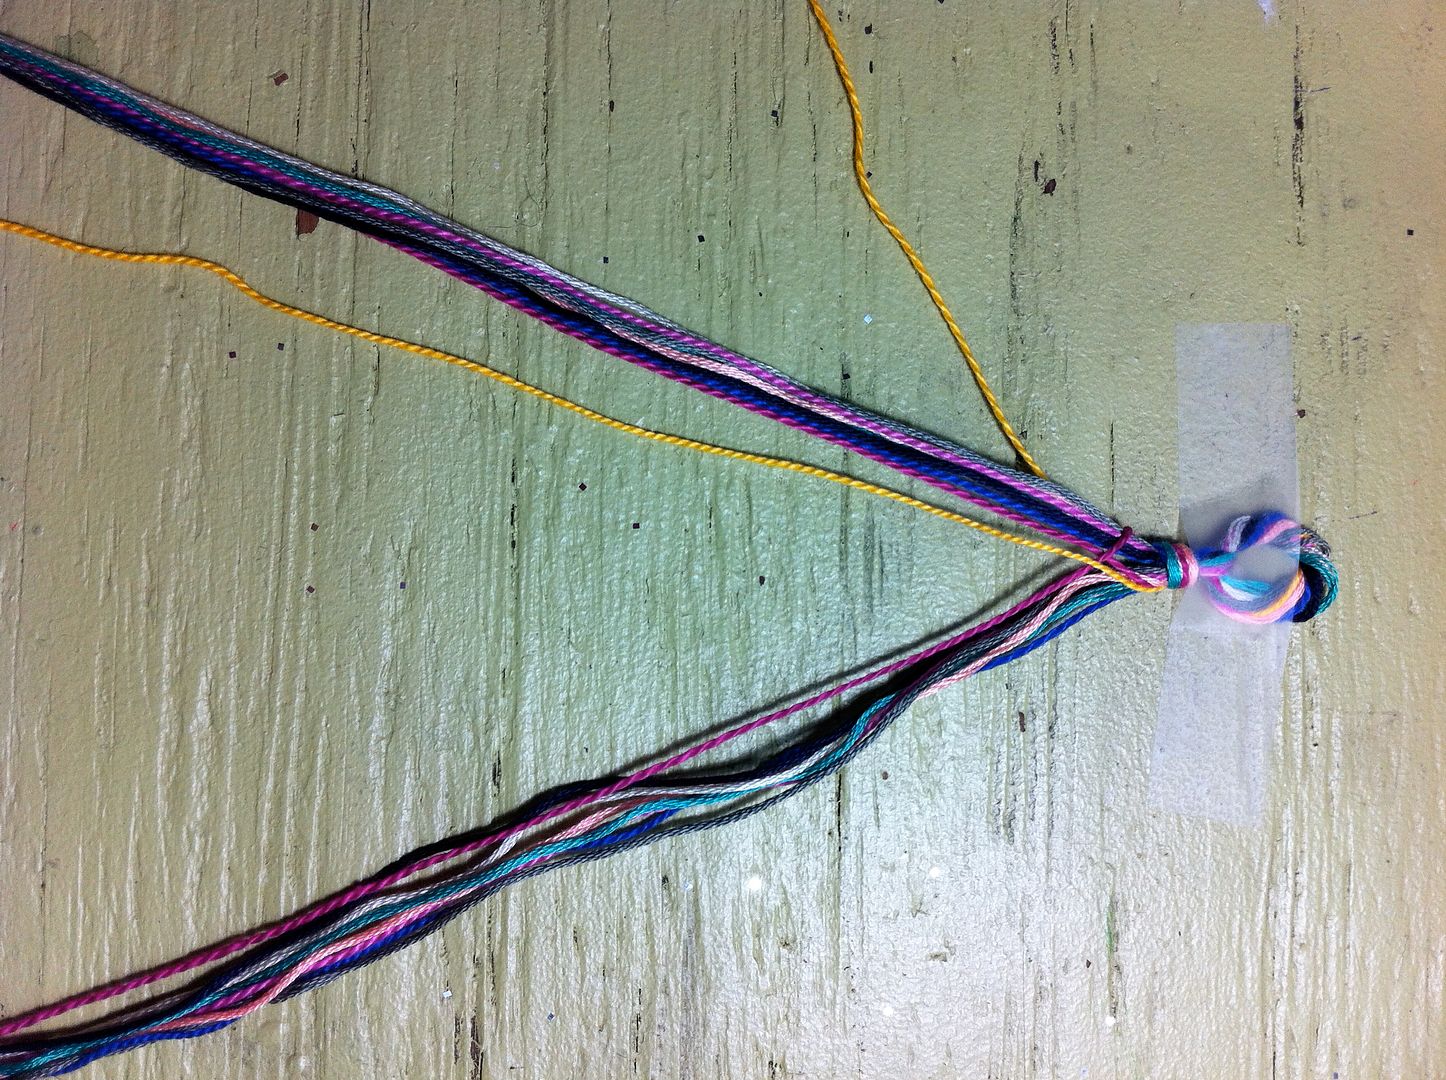
Pull the same color from the left side.
Add the piece from the right side to the left group of colors.
Now take the color from the left side and pull it to the middle (over all the other strands.)
Then add it to the right side and pull the two groups towards the top to tighten the "design."
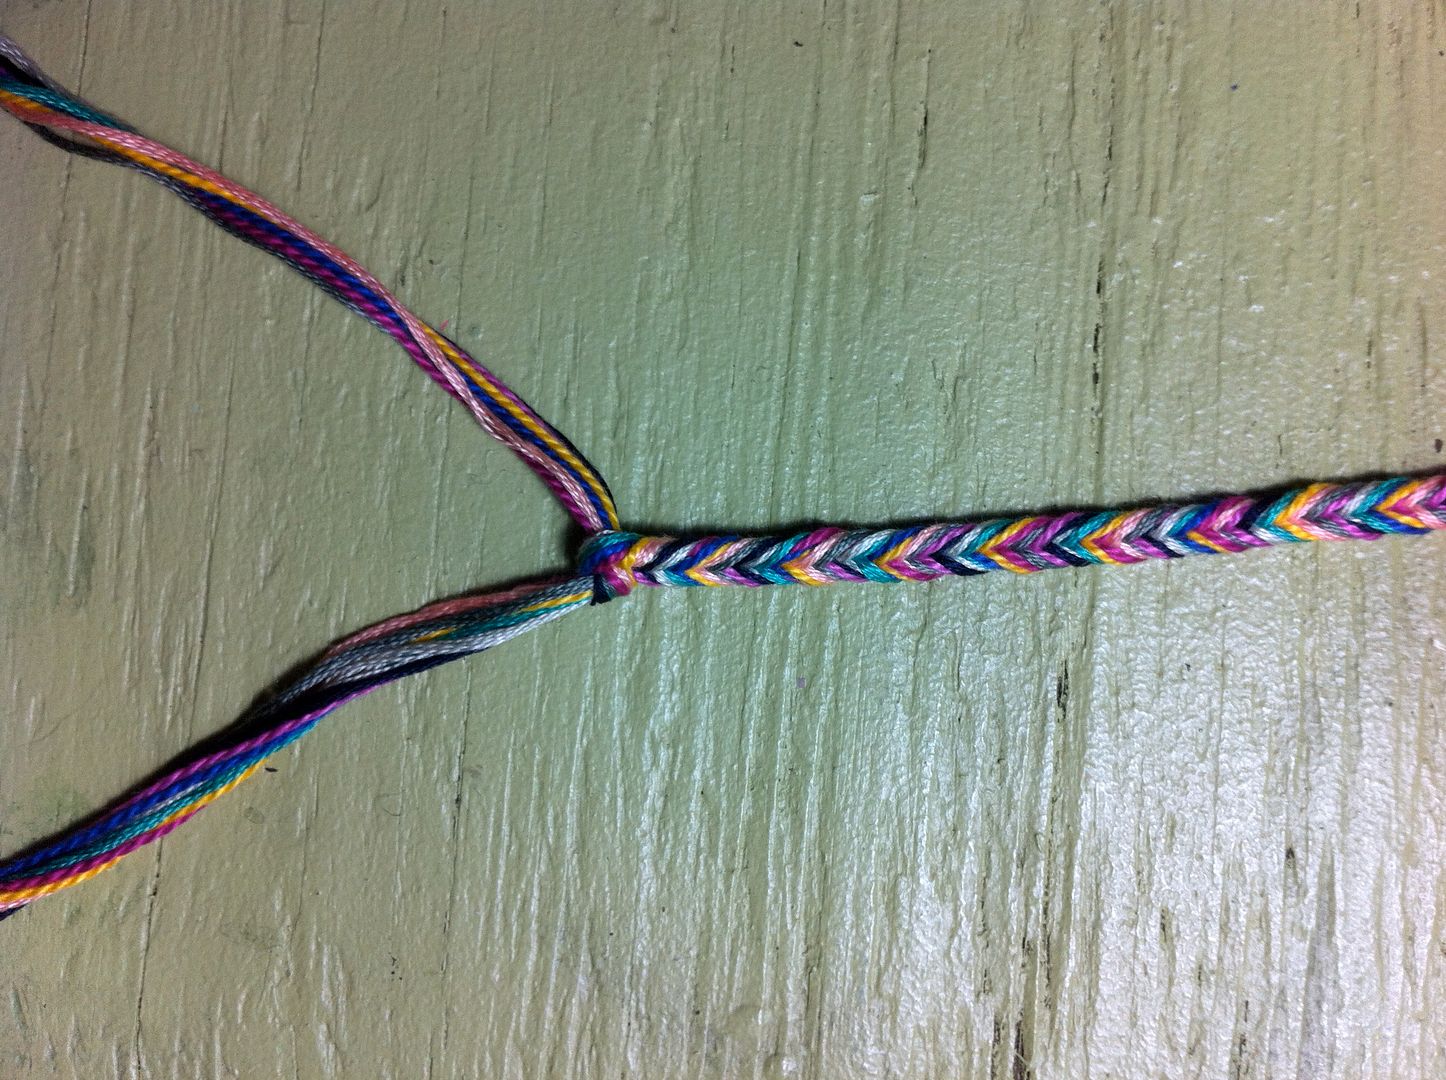
Repeat those steps again until you've done each color. The design will look a little messy at first but after you get through all 9 colors, it will start to straighten up.
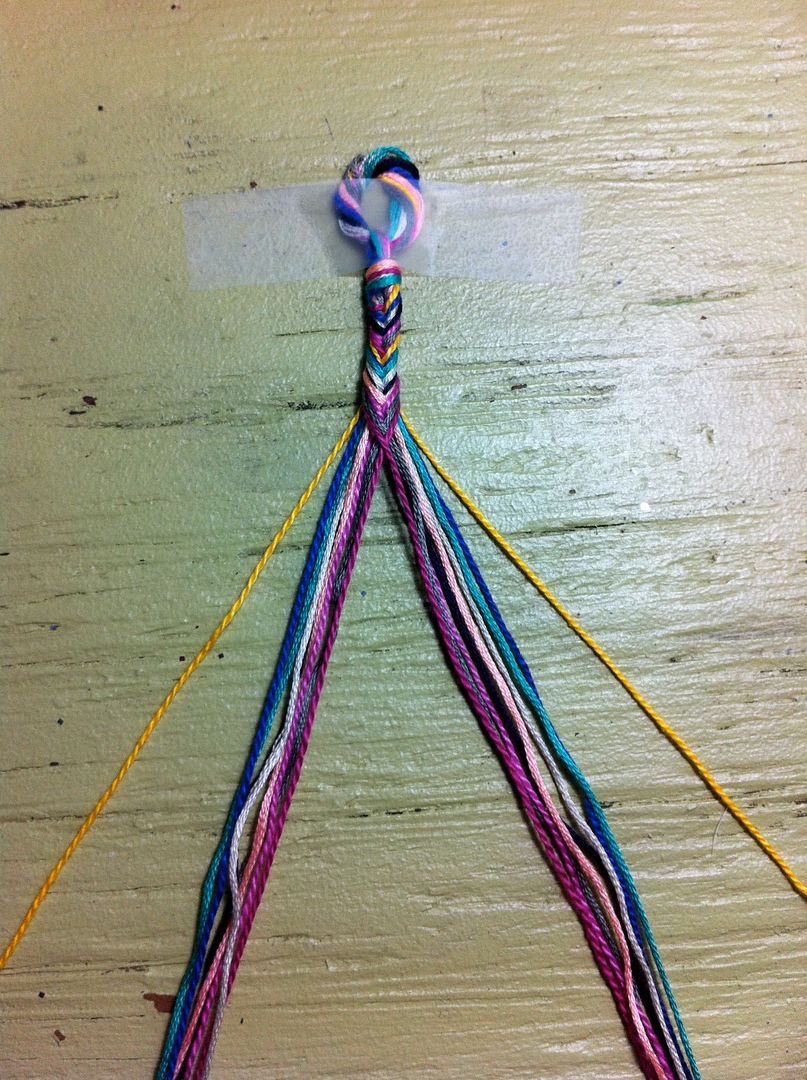
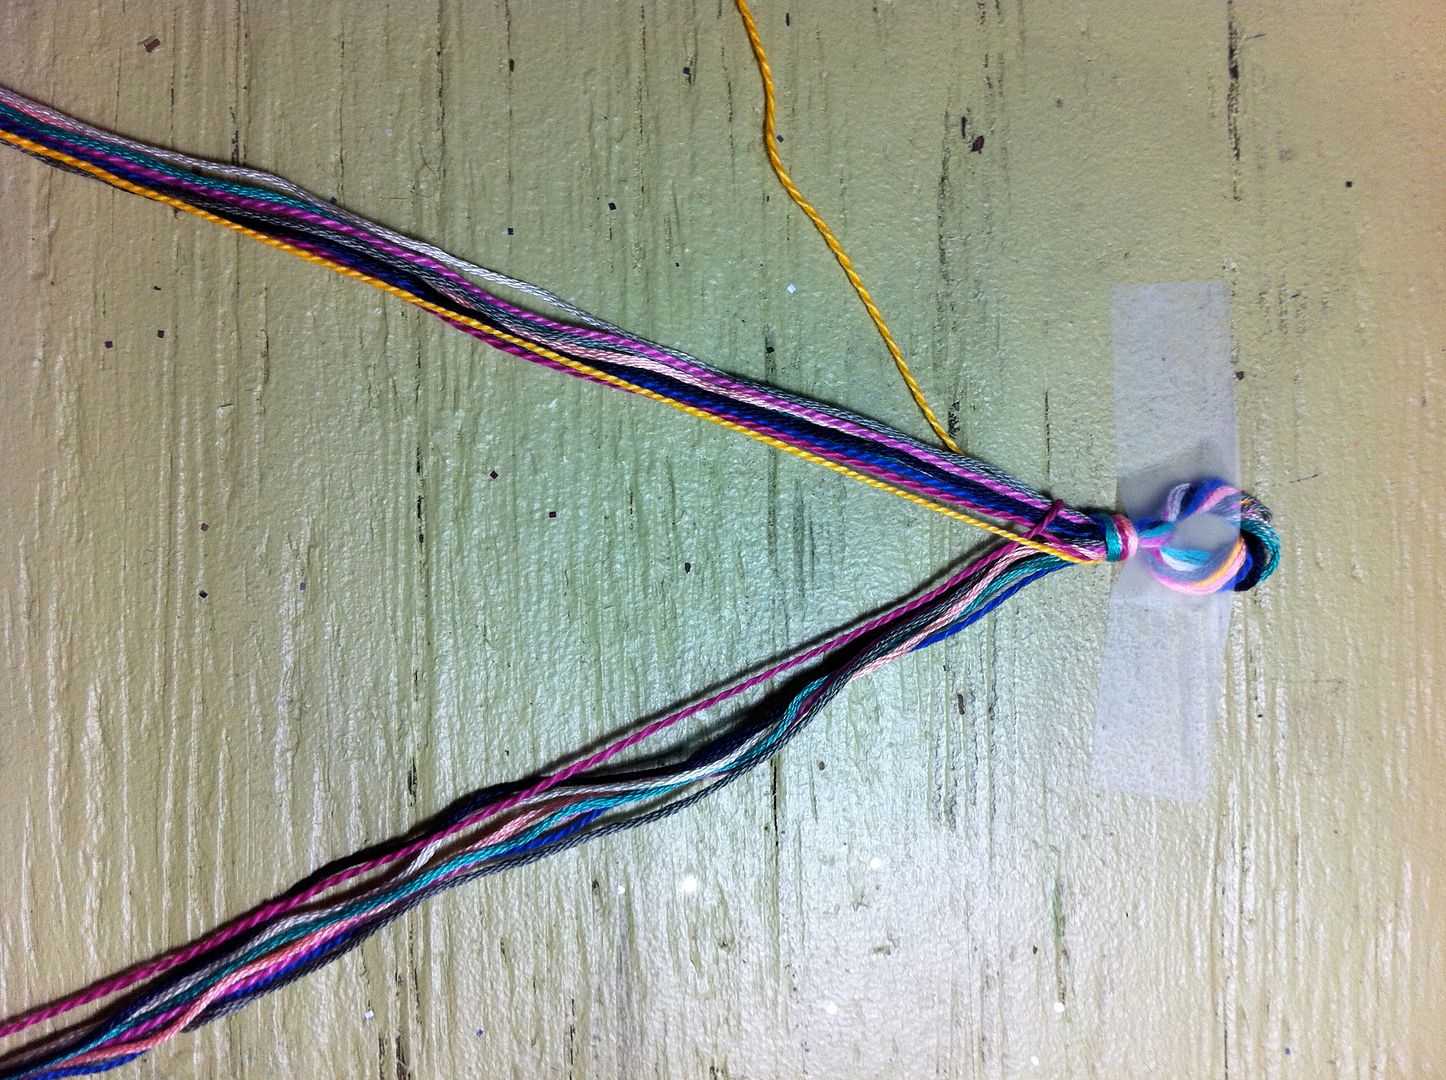
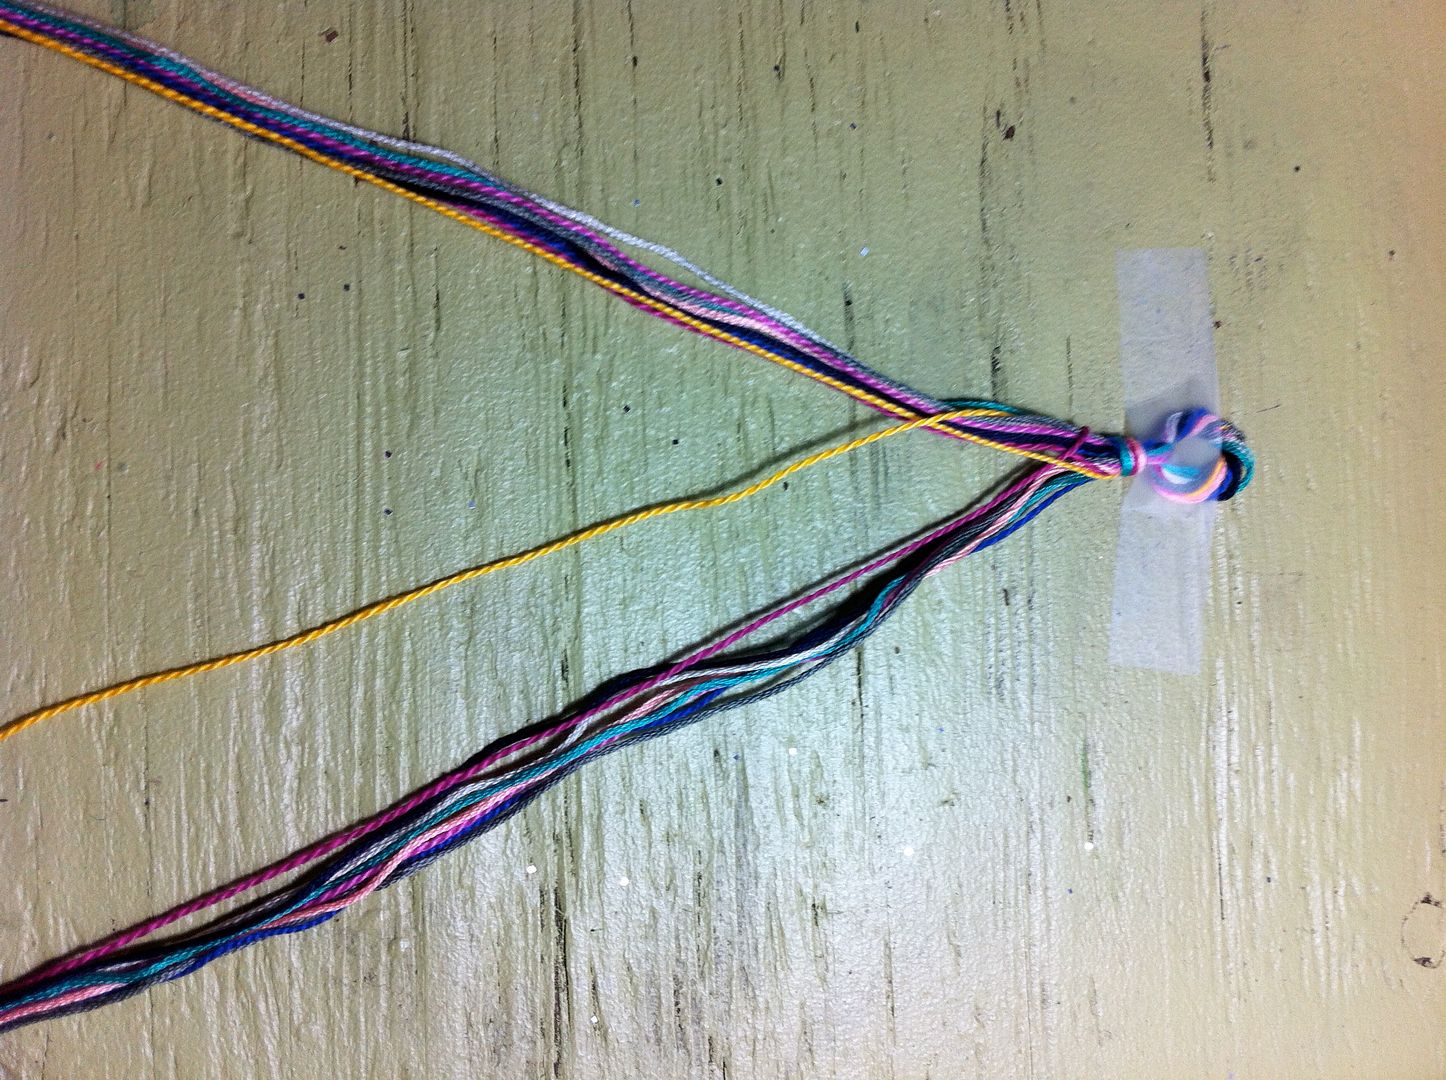
This is what mine looked like after braiding two sets. Once your bracelet has the pattern going, you can either keep the color pattern going or just make it random. If you do make your color pattern random, make sure you take a piece from the outside.
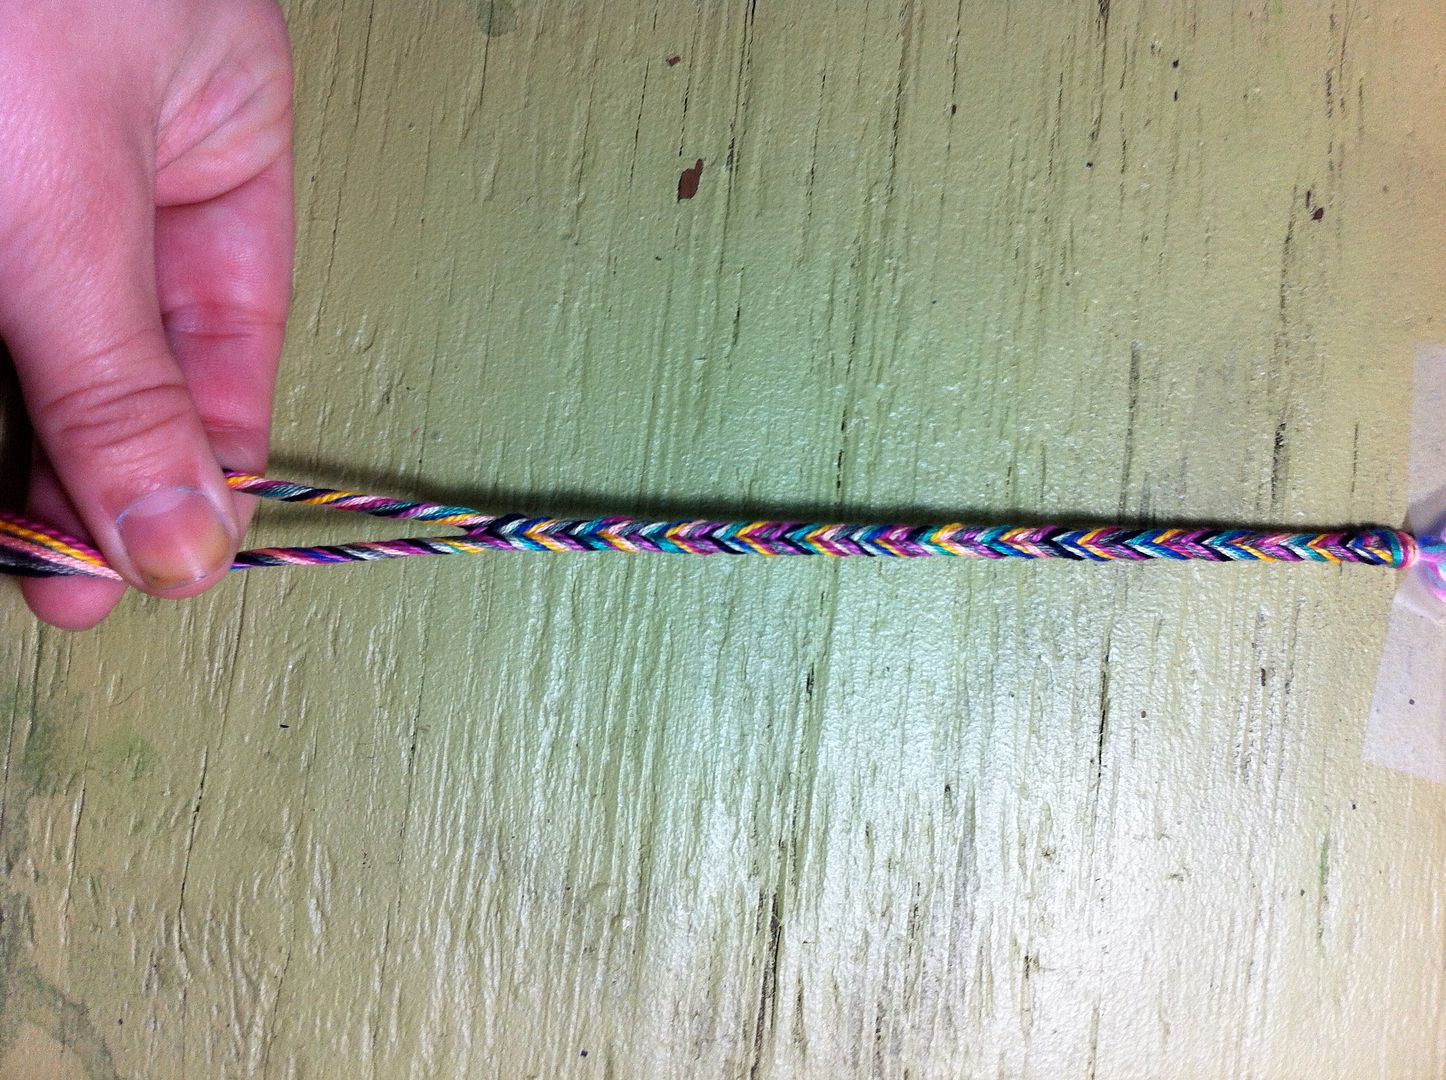
When you've braided as much as you need, twist the two groups inward (towards each other.)
Then tie a knot.
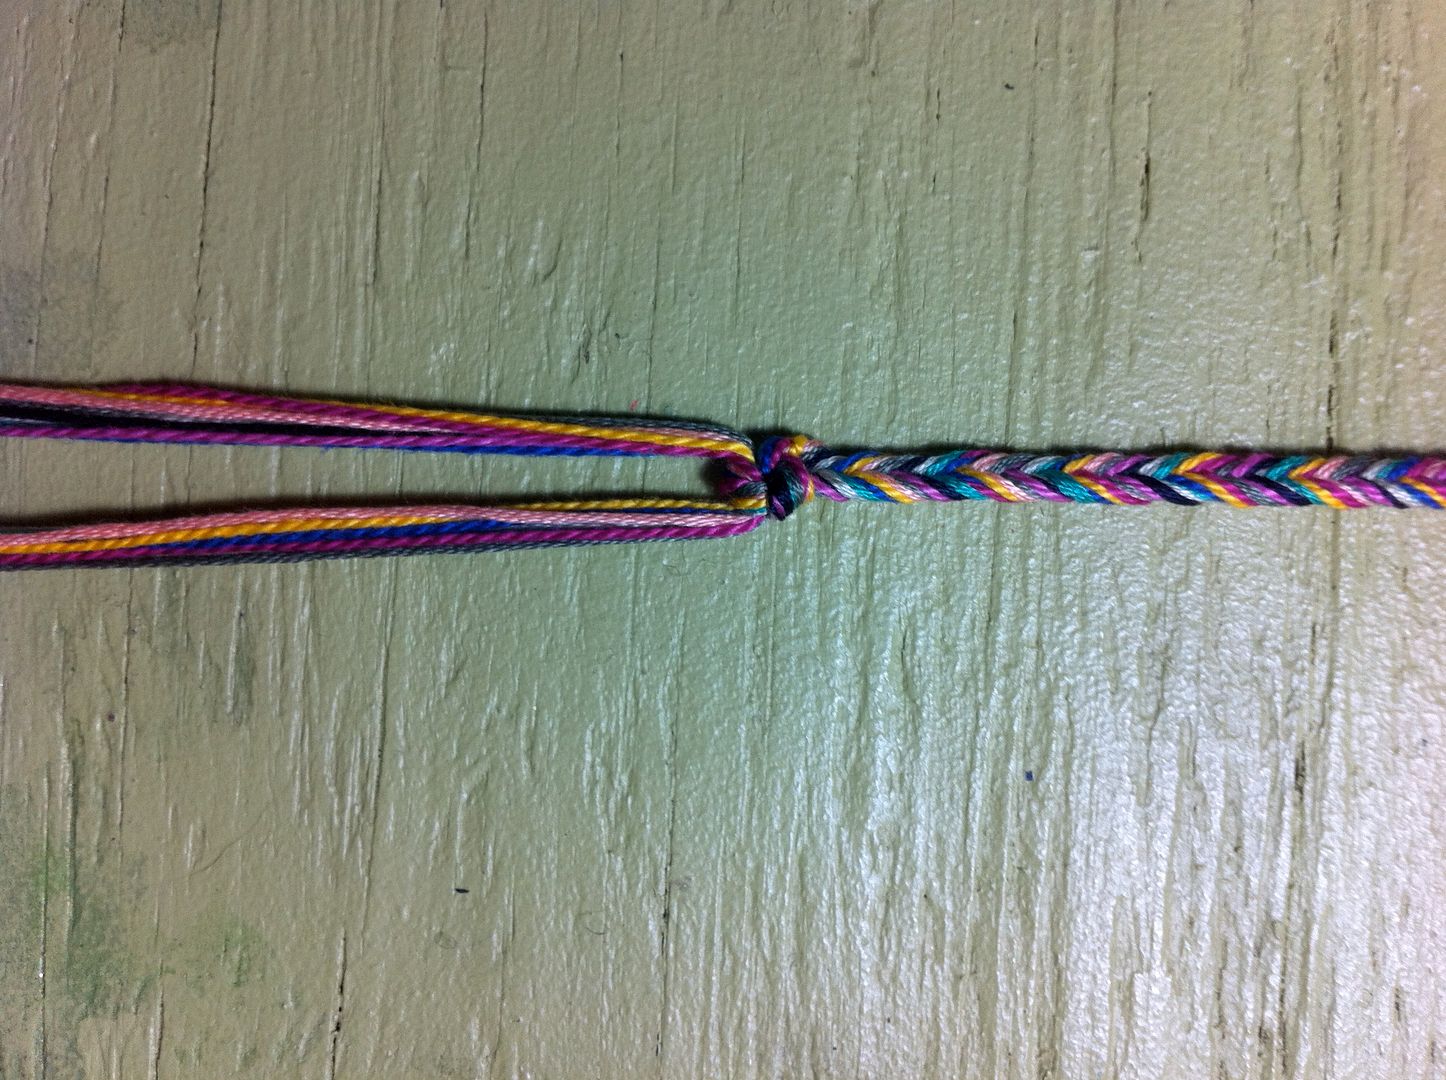
And another knot...

Now you will thread your bead onto all of the strands. I'm going to show you an easy way to do that. Take another shorter piece or string and thread it through your bead and then wrap the string around the group of strands.
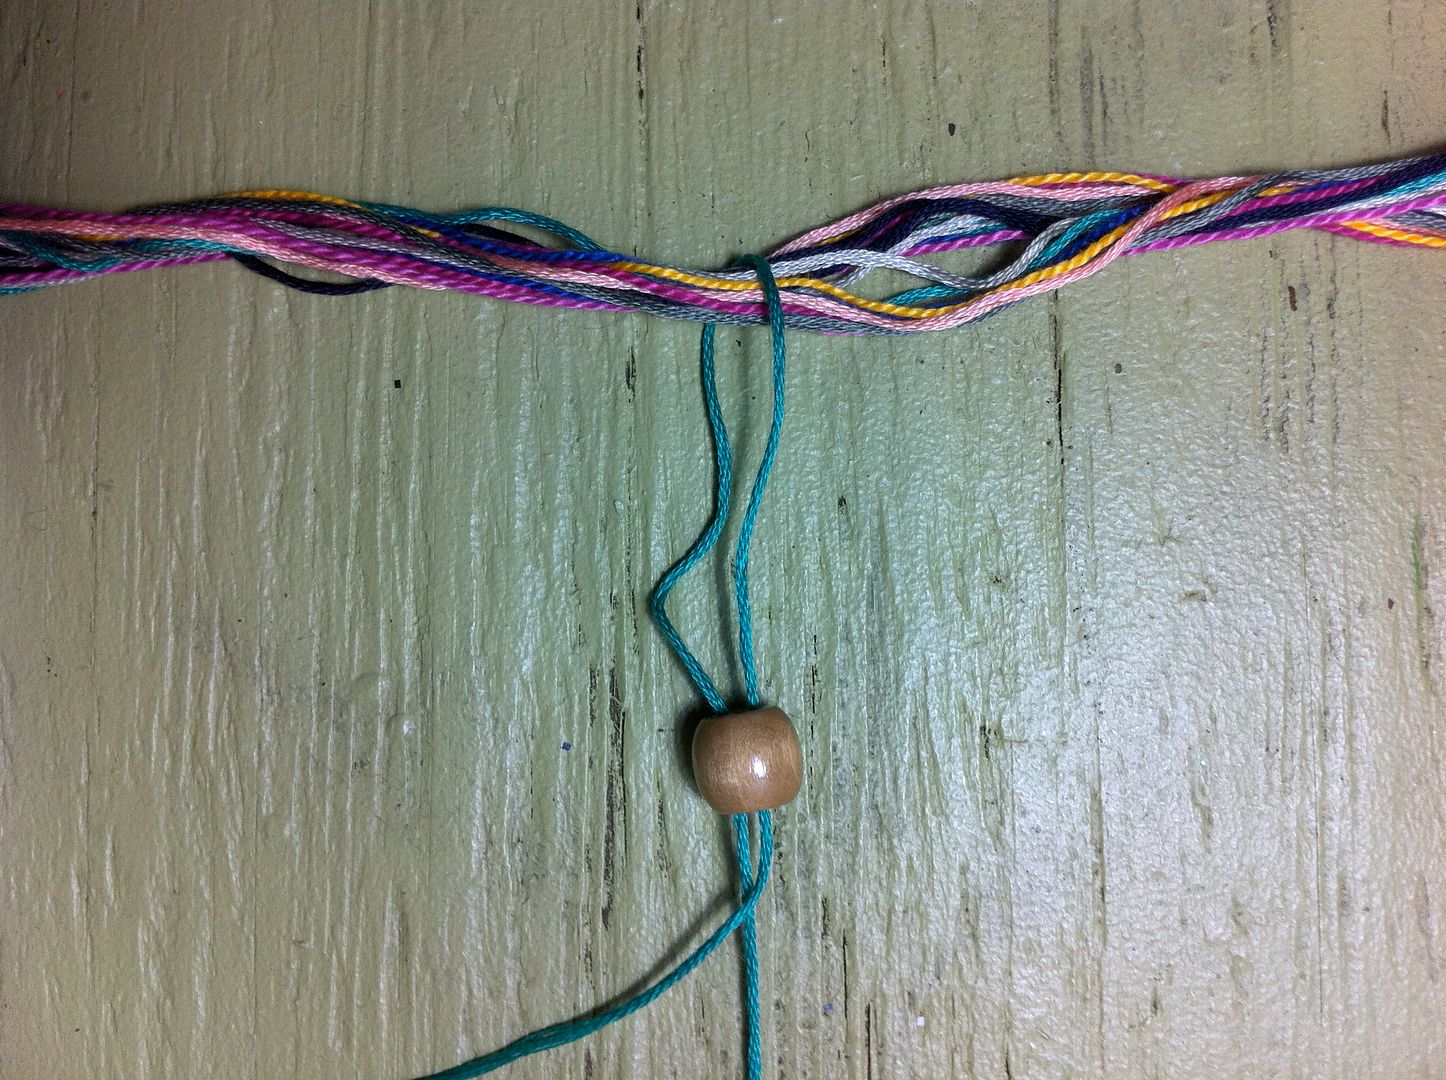
Then thread the smaller strand back through the bead.
Grab both ends of the strand and pull through bead and the group of strands will come through with it.
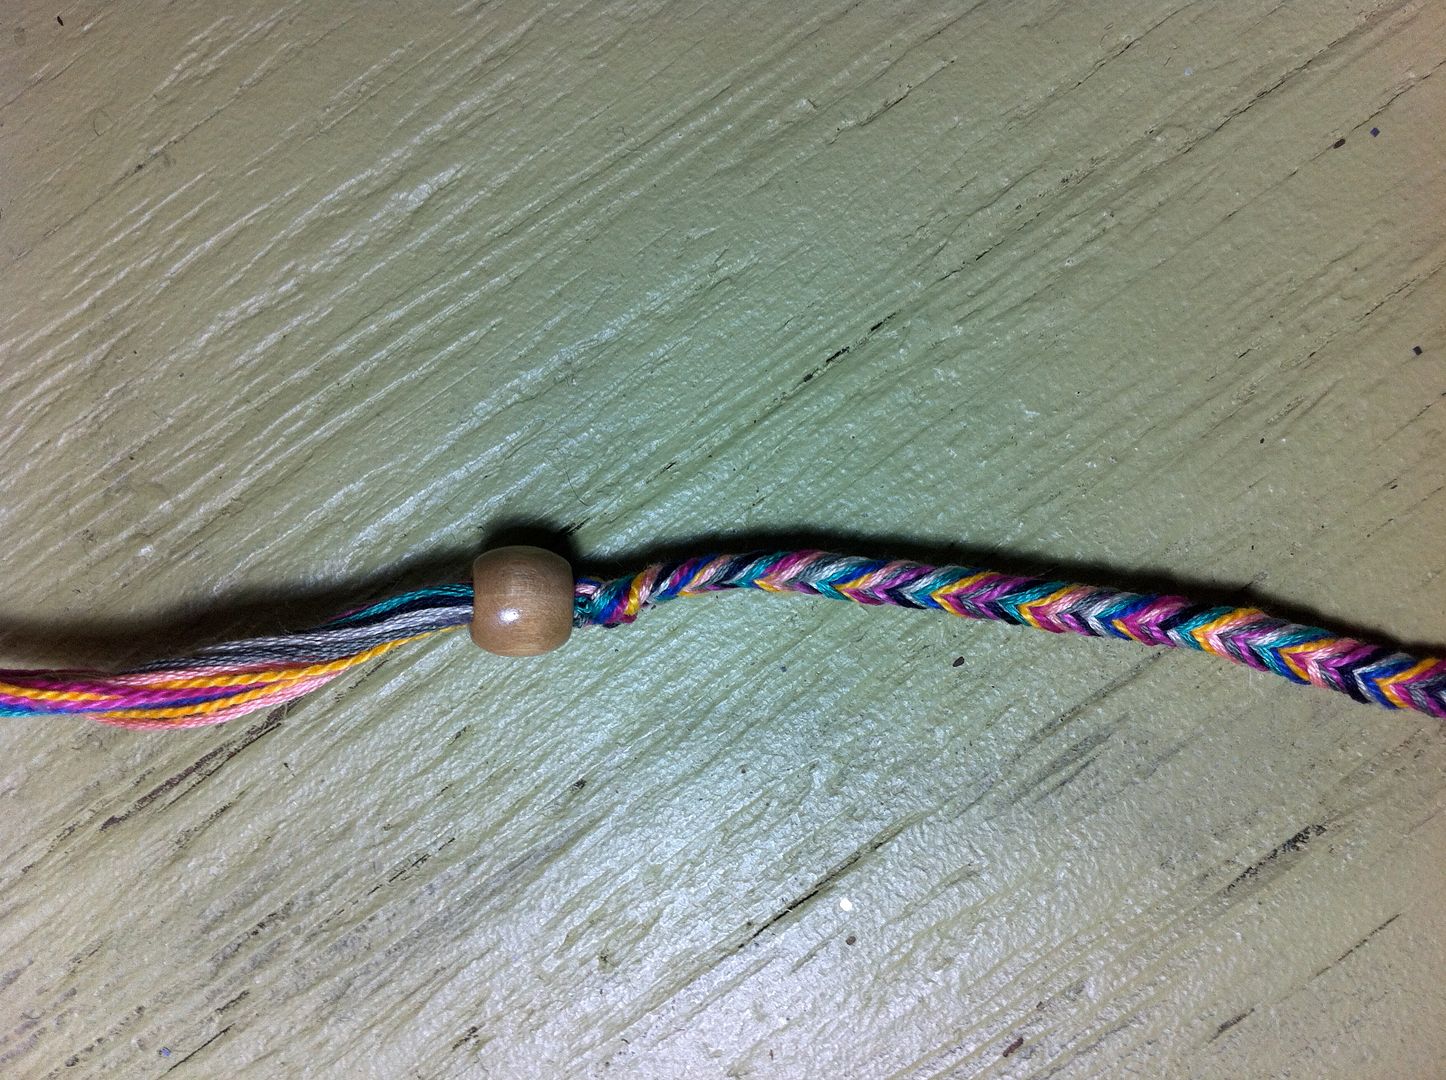
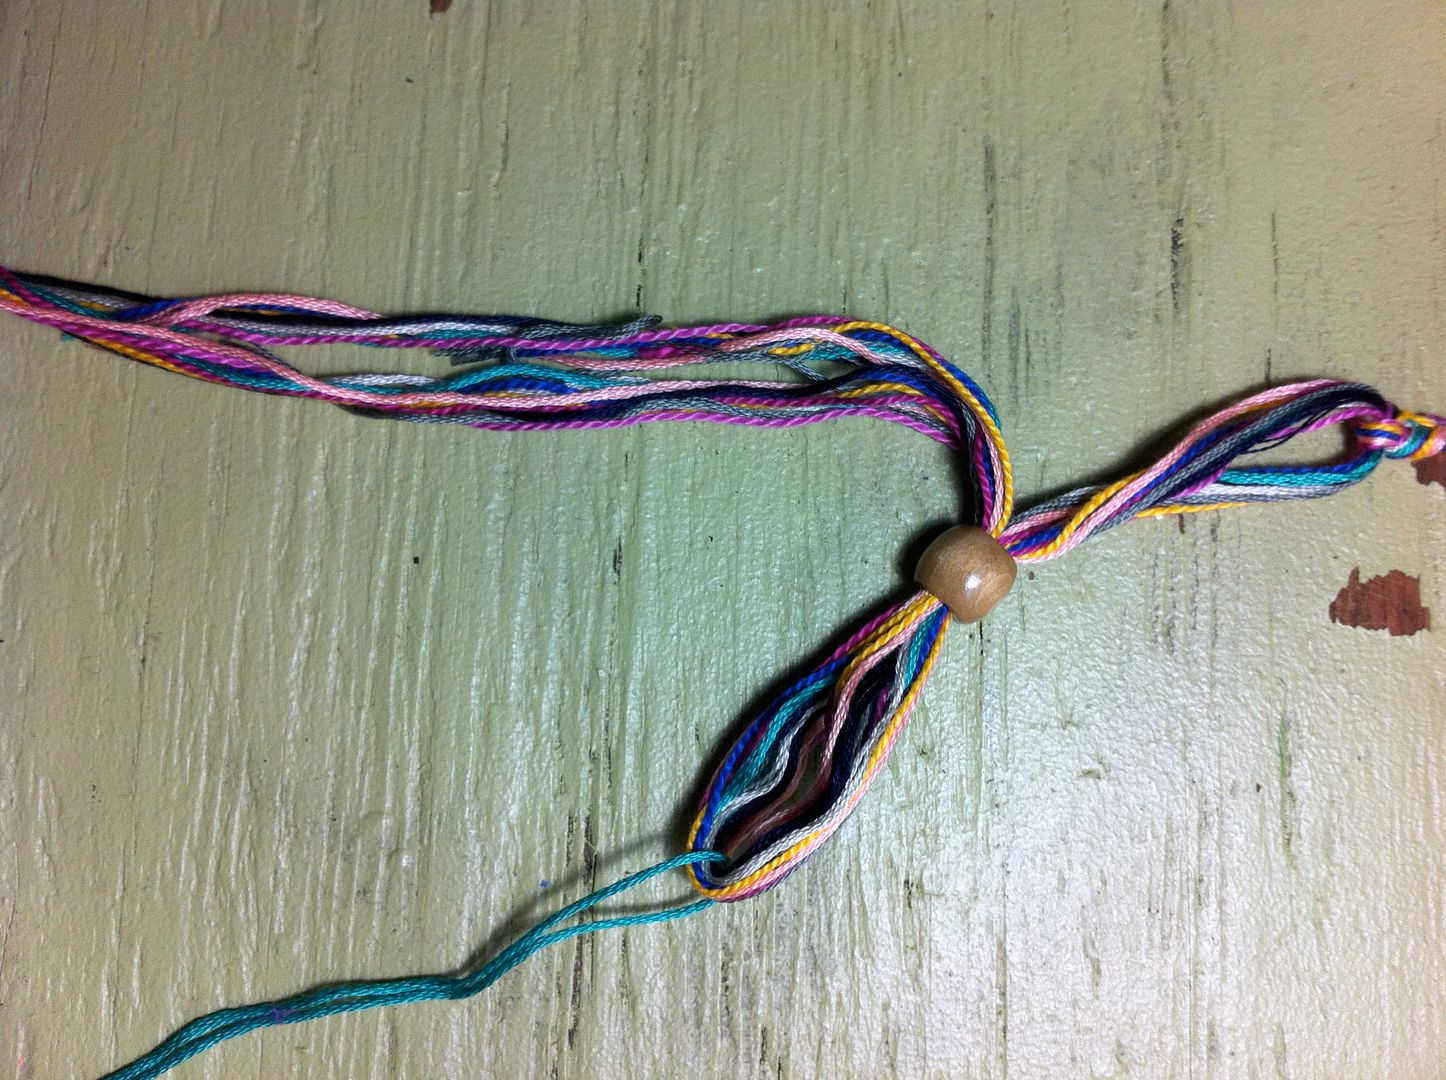
Then slide your bead up to the knots.
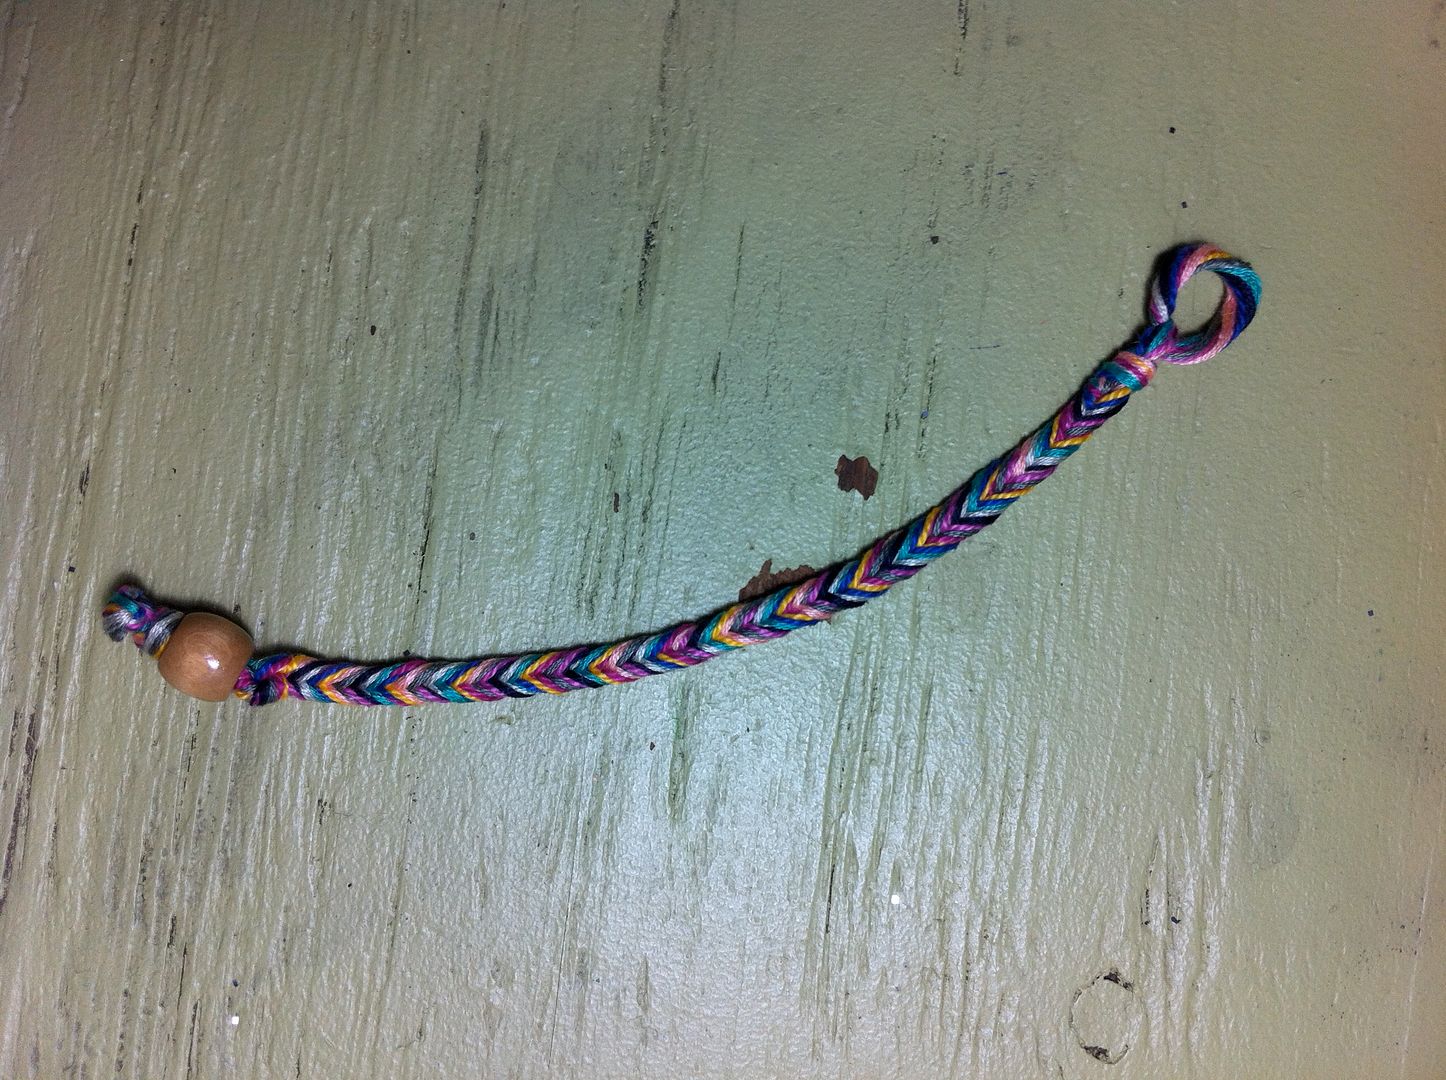

There you have it!